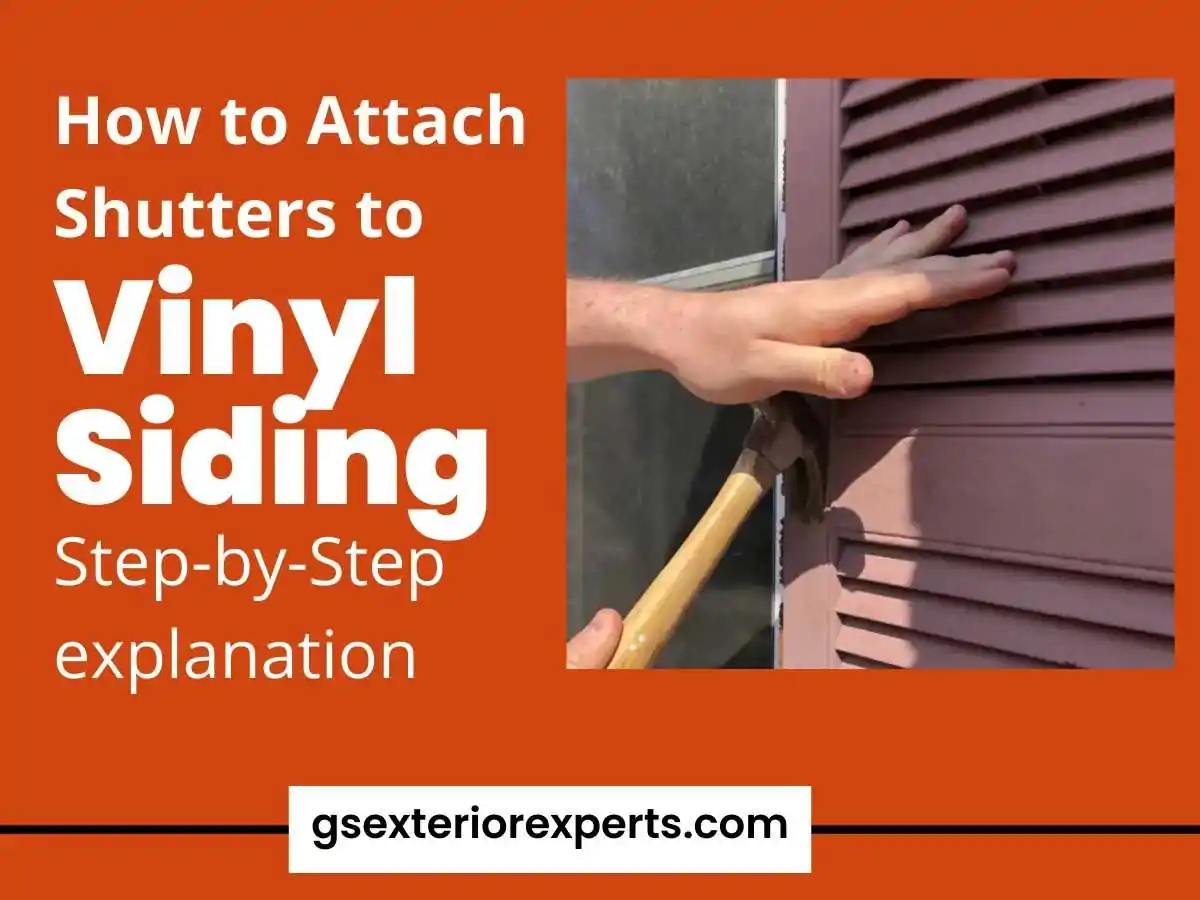
Putting on shutters is a great way to give your home a more custom, finished look. You may be hesitant if you aren’t sure how to attach shutters on vinyl siding. But don’t worry – it’s not nearly as difficult as you think! Again, you can contact GS Exterior Experts to add this architectural element to your Colorado home. And if you wish to do it yourself, here’s how to attach shutters to vinyl siding and a few things to note before tackling the job.
The Tools and Materials You Will Need
There are a few tools and materials that you will need to install shutters on vinyl siding. These include
- Tape measure or ruler to measure for shutter placement.
- Stud finder to find the studs in the wall.
- Hammer to drive the shutter screws into the wall studs.
- Screwdriver to attach the shutter hangers to your vinyl siding.
- Utility knife to cut the vinyl siding around the window frames.
- Drill to make the hole in the vinyl siding
- Shutters – You will, of course, need shutters for your house!
Selecting Vinyl Siding for Shutters Installation
Before you purchase shutters for installation on vinyl siding, ensure that the shutters are indeed vinyl. Some shutters are made with wood, which will not be suitable for installation on vinyl siding.
You should also check the width of the shutters. Standard vinyl siding is 0.035 inches thick, but the most durable ones are 0.04 inches. If your shutters are 0.035 of an inch thick, you will need to remove a small amount of material from each side of the shutters to make them the right width for your vinyl siding. You can use a small saw to do this at home.
Prepping the Vinyl for Shutters Installation
If your vinyl siding is old and dirty, you must clean it before installing the shutters. Use a scraper or a soft brush to remove any dirt, debris, and mildew from the window frame, sills, track, and vinyl shutter.
Using the tape-and-seal installation method, you will need to replace the vinyl if it is damaged or torn. It’ll allow you to attach new vinyl siding without hammering nails into the wall.
Is It Better to Use Shutter Tracks or Shutter Panels for Your Vinyl Siding?
A shutter panel is a complete siding panel constructed to fit over the top of the existing wall. It’s typically made of aluminum or steel and can be either mounted outside the house (often with weather-stripping installed between it and the house) or on an interior wall. A track is a piece of hardware used to mount shutters to a wall.
It depends on what you’re looking for in your siding. If you want something that will last and looks nice, go with a shutter panel. But if you want something easy to install and affordable, go with tracks.
Additionally, with shutter panels, you have the added expense of mounting them on top of your existing walls. In contrast, tracks can be installed anywhere—on your exterior walls, interior walls, or even along your roofline.
Shutters Installation Tips for Vinyl Siding
When installing shutters on vinyl siding, you must make sure that you attach them correctly. Know where to place the shutter hangers on the vinyl siding. If you place them too close to the edge of the siding, they could tear a hole in the vinyl.
If your vinyl siding is new, you can attach the shutters as soon as you get them. However, if you have old vinyl siding, you must prep it before installation. New vinyl siding is smooth and clean, which makes it easy to attach the shutters. Old vinyl siding may have dirt, mold, and debris, making it challenging to attach the shutters correctly.
You can also watch the following video for a better understanding.
How to Attach Shutters to Vinyl Siding
Now that you know what you need, it’s time to start!
1. Remove the Old Shutters
Start by deciding how to hang their shutters onto their windows. The first step is to locate where the old ones are attached and whether they are wood or metal, nailed or screwed in place. If the shutters are wooden or metal, they will typically be held up with screws inserted into the building structure. It’s best to use a cordless drill to remove them one by one so as not to damage the surface of whatever you’re drilling on. Alternatively, if the shutters are vinyl plastic and have locking devices on them (like locks), you should use a hacksaw alone to trim out any nail spikes between windows and shutters carefully.
2. Measure the Window Size
Before purchasing new shutters, measure the windows to ensure that you have bought the right window shutter size. Use a ruler or tape measure to do this. The shutter height is the same size as that of the window opening, excluding the sill. If you’re buying shutters for a space between two windows in your home, ensure the shutters will fit without overlapping by measuring the distance from one window to the other.
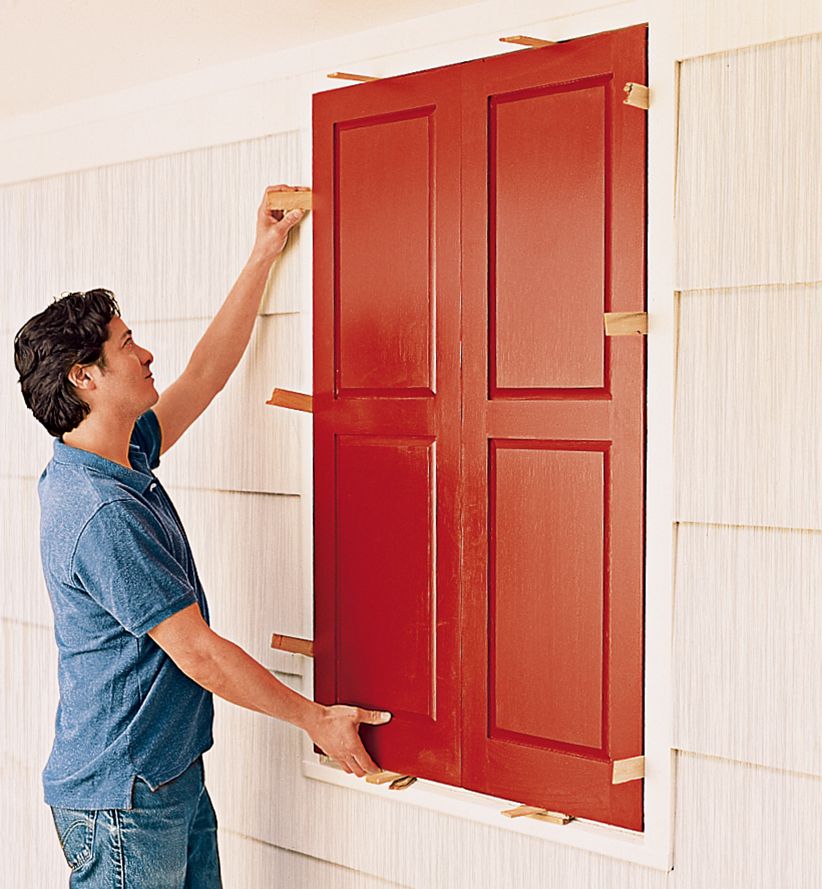
3. Use a Pencil to Mark the Placement of the Shutter Hangers
Place the shutters alongside the window. If you’re attaching vinyl or composite shutters, leave a 1/4-inch gap between the shutter and the window. It’ll allow for expansion and contraction of the material as temperatures change throughout the year. No gap is needed if you’re installing wood shutters. Check these important points with a level before marking the corners using your pencil.
4. Make Holes in the Vinyl Siding for the Screws in the Hangers
Set the shutters to face up on a flat surface over a piece of scrap plywood or on top of two sawhorses. Mark a location in the center of both sides rails 2 inches from the top and 2 inches from the bottom. If you’re installing shutters longer than 40 inches, you’ll need to utilize six fasteners–one in every corner and another at the center of each rail. After marking the holes, utilize a drill with a 1/4-inch scrap to make pilot holes through the shutters. Use a screwdriver for this.
5. Install the Shutters Into the Siding
Measure 3¼ inches from the tip of the drill bit and mark the measurement with a piece of tape or felt tip pen. Position your shutter beside the window, utilizing the corner marking you created earlier. Drill through each hole in your siding and shutter down less than ¾ inch from the surface level, using your mark as a depth guide, so you don’t accidentally crack or break your exterior shutters.
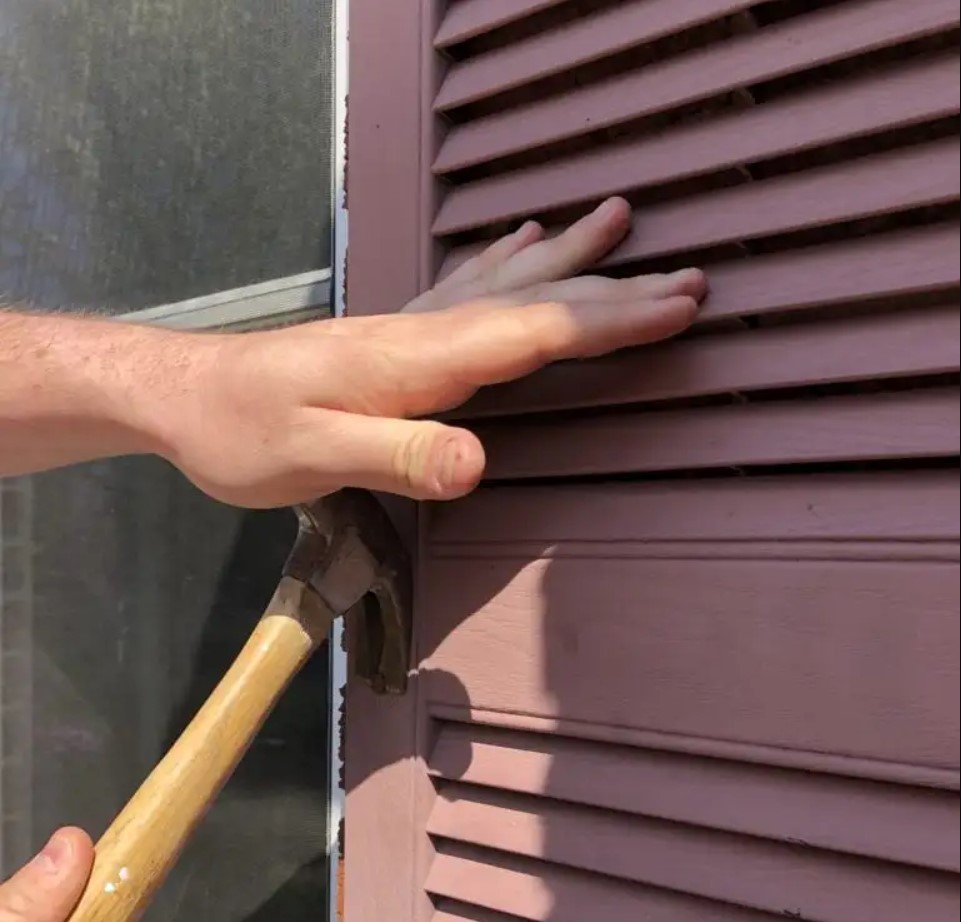
External shutter mounting alternatives include metal screws and plastic plug fasteners. If attaching metal or wood shutters, hammer them in place with a cordless driver for maximum stability!
Use the hammer to install the external shutter fasteners into the vinyl siding. The fasteners lock the shutter to the home while enabling it to contract and expand without causing harm to either the shutter or the vinyl. To avoid harming the siding, be careful not to overtighten the screws. Once you have installed all the shutters, you can use a nail set to hide the screw heads.
Looking for a Contractor in Colorado?
We hope you now know how to attach shutters to vinyl siding. But if you need any extra help, contact GS Exterior Experts at (720) 683-6288. We come with expert tools and knowledge to remodel your home’s windows, sidings, roofs, and deck, leaving them looking more fabulous than before. Just visit our website for a free estimate and offers.